Tuesday 25 October 2016

"Identity" The evolution of a mixed media painting


Hello my friends!  I have been MIA for a little while, I know.  I have been busy working on my latest mixed media creation, which I am excited to report, has made it into the Annual PRAC Juried Art Show!  My first real juried show! (I have done some juried events within our ACA group, but not an actual juried show).  
, I have been thinking of you all while I was working away and took several photos during my journey to the completion of this work, in order to share my process with you.
In this painting, my objective was to explore the female psyche.  We are strong, but fragile, real and complicated.  There are many other words I could have added into this painting if I had the room.  We are definitely a host of contradictions!  I did the eyes in blue, because my daughter has beautiful blue eyes and is just embarking on her journey as a woman, a time when I think our identities are the most complicated.  I wanted the juxtaposition of the flourishes and fanciful with the practicality and industriousness of the gears.  The mask represents our search for our own identity behind the veil of our other identities, mother, wife, daughter. My intention with this painting, was to embrace self-discovery.
I will give you a little insight into how my creative process works.  When I start a painting, any painting, whether mixed media, abstract or landscape, I have a general idea in my mind of composition and the elements i want to incorporate into my work, but I  don't know exactly what my finished work will look like.  All of my paintings evolve, as I'm sure they do with a lot of artists.  I am not a planner, I don't do detailed sketches or drawings, which I can't do anyways with my vision impairment.  I may know that I want a tree and wonderful clouds in a landscape, and I may know where I want the tree and an idea of the cloud formation, but I don't really know what those clouds are going to look like until I have reached a point where I feel they are done and I am pleased with them.  I don't even know what kind of tree my imagination is going to release at the end of my brush.  It amazes me how the creative process works.  Laying down one colour inspires me to lay down another..  I cannot stand back and take a look at my painting, because then I can't see it.  But, if I stand back just a bit, I can see a form and some colour and some contrast.  Some of my artist friends liken it to the artist's "squint", without actually squinting.  I think it actually helps me, in a way, to be able to just get an overall impression without being distracted by the details..
Now I will share the creation of "Identity" with you through photos and some of my thoughts, I hope you enjoy it.

An inspiration


I did a light layout in watercolour pencil on a 15 x 30" gallery style canvas

I did some stencilling


I painted in the eyes, fairly shadowed as they would be under the mask.  I also added some more texture with some impasto gel and some micro beads and crylstal beads


I added my words and built up a protective barrier with the impasto gel to protect the eyes from the ink


I painted over the entire canvas, except for the eyes, with a few different colours of acrylic paint

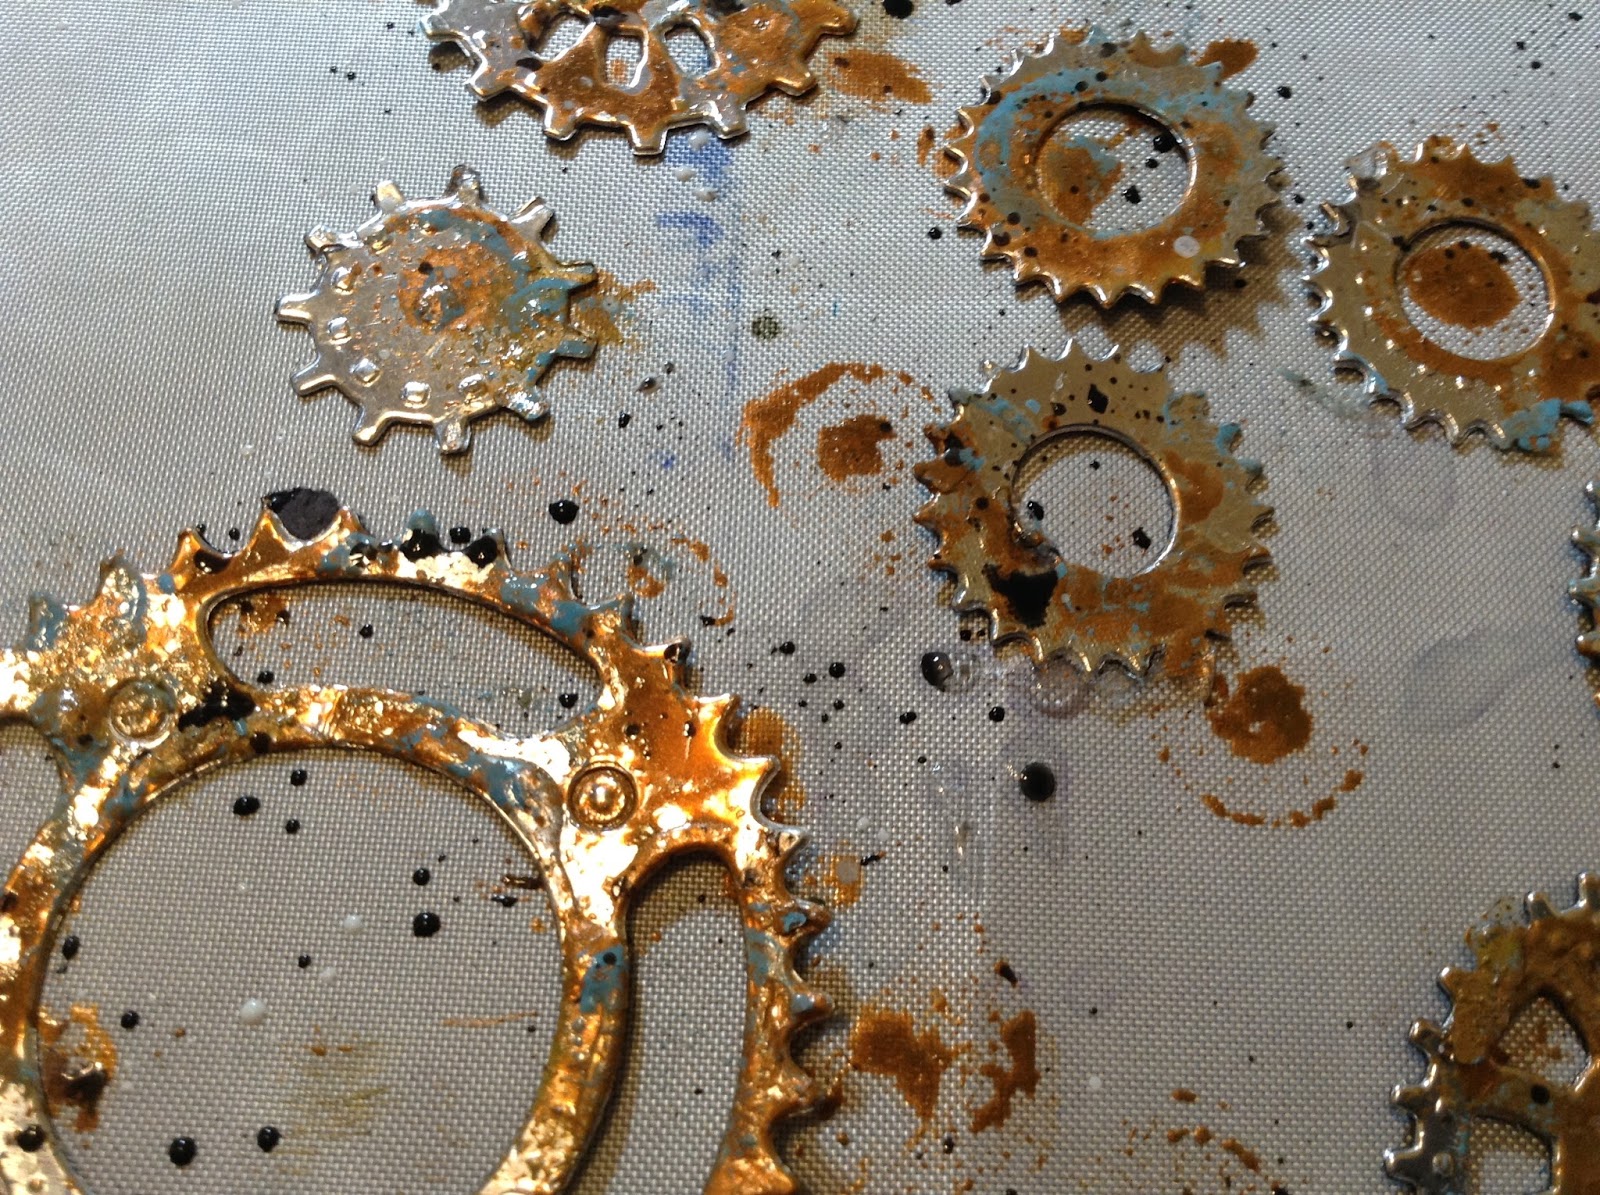
I used one of the gears that I created for my other painting "Inner Workings".  These gears have been "aged" but the one I used on this painting was not.


I adhered the mask and some other elements to the painting.  I really liked the way it was looking at this point, so it was difficult to start the next step because the inking is quite unpredictable.  You can control it to a certain extent by adding it where you want it and choosing what colours you want to use, but once you start moving it around it takes on a life of it's own and you don't really know what it will look like until it dries.


I added some more stencilling with gold paste and added more colour in layers, waiting for it to dry in between. Adding and fine-tuning values and contrasts. I also adjusted the "quiet space" to a level I was happy with.

And finally..."Identity"


Thank you so much for taking the time to let me share my art with you.  I would love to hear what you think.
Have an amazing and artful day!


Sunday 16 October 2016

A Birthday card for Lynn!


Hello my friends!  Just a quick post today.  I wanted to share the birthday card I made for my friend, Lynn.
 I created this card using things I had on hand. The sentiment is on a die cut label that I created when doing a foiling technique post for my blog, ages ago.  I thought it was so pretty,it's nice to be able to use it and it was the perfect size.  The sentiment itself was from one of my dollar store treasures that Lynn actually found and picked up for me.  Some of you may recognize it from my dollar store hauls post  Whenever I have my die cutting machine out, I die cut lots so I always have something on hand (and for some reason, I just find die cutting relaxing, so sometimes I will just do that and nothing else!) so I have a lot of die cut images in my stash. It's nice to be using things from my stash.. The background paper (which I love!) is from a 6 x 6 pad that I have had for quite a while.
I am a confessed art supply junkie and I just love getting new stamps and die and all that stuff.  However, when you have a lot to choose from, sometimes its is overwhelming and kind of paralyses you when you are trying to design a card and figure out what elements you want to use.  So having all the elements for this card already on hand, made it a lot easier to make decisions.  Otherwise, I may still be sitting, staring into space, mulling over how to create a birthday card!  Especially with an assemblage card, which I really like, but struggle with.
The flowers are pre-cut Recollections brand from Michaels  which I glued together and embellished.

Well, Thank you for stopping by!  This post is actually a little longer than I expected, I was just going to post the photo, but I hope you enjoyed it!  Have an awesome and creative day!

Friday 14 October 2016

"Peace" Another Christmas card in my series based on the #onelittletag colour challenge


Hello my friends!  Welcome to my final (so far!) Christmas card in a small series i am doing based on a colour challenge inspired by Jenny Barnett Rohs and her FB group called The One Little Tag Craft Challenge   based on the photo below.  She used a colour mixer app to draw a colour scheme from the photo of the pot of fall mums.  I have based this series of Christmas cards on this colour scheme.  I love the fact that these cards don't follow the "traditional" Christmas colours!


I first blended some distress ink on my background.  Then I splattered some water, with a little perfect pearls mixed in, over the inked card.  One of the fun things about distress ink is how it reacts with water.  I die cut my elements out of black card and for this card, I switched up the light tan for gold foil card, to mimic the colour challenge.  I added some Wink of Stella to my black card to give it a little sparkle. I assembled all my pieces and layered my card with the same golf foil card , and then onto a black card.


for this card I used seedless preserves, worn lipstick and shaded lilac distress inks.


I used a  Tim Holtz Sizzix die, a Penny Black die and a Memory Box die for this card


Thank you so much for letting me share this little series of Christmas cards with you.. I hope you have enjoyed them!  If you haven't seen them already,  please check out  the other Christmas cards in this series created using the colour challenge from The One Little Tag Craft Challenge

This is my final post for the day, and the final card in the series, for now!  I can't promise there won't be more later because I am really enjoying this colour scheme.

Thanks again and have an awesome and artful day!

Deer in the Forest Christmas Card based on the #onelittletag Colour Challenge


Hello my friends! Clearly, i was on a roll!  Welcome to the next Christmas card in a small series i am doing based on a colour challenge inspired by Jenny Barnett Rohs and her FB group called The One Little Tag Craft Challenge   based on the photo below.  She used a colour mixer app to draw a colour scheme from the photo of the pot of fall mums.  I have based this series of Christmas cards on this colour scheme.  I love the fact that these cards don't follow the "traditional" Christmas colours!


I first blended some distress ink on my background.  Then I splattered some water, with a little perfect pearls mixed in, over the inked card.  One of the fun things about distress ink is how it reacts with water.  I die cut my elements out of black card and a light tan card, to mimic the colour challenge.  I glued the die cut images together, offset just a touch, to give a highlighted look.  I assembled all my pieces and layered my card with the same light coloured tan card , a black layer and then onto a black card.

I used wilted violet, picked raspberry, squeezed lemonade and abandonded coral


I used a couple of Tim Holtz Sizzix dies for this card


Thank you so much for stopping by. I hope you have enjoyed my latest Christmas card!  If you did, please check out  the other Christmas cards in this series created using the colour challenge from The One Little Tag Craft Challenge

Warmest Wishes Christmas Card using a #onelittletag Colour Challenge


Hello my friends!  Welcome to the next Christmas card in a small series i am doing based on a colour challenge inspired by Jenny Barnett Rohs and her FB group called The One Little Tag Craft Challenge   based on the photo below.  She used a colour mixer app to draw a colour scheme from the photo of the pot of fall mums.  I have based this series of Christmas cards on this colour scheme.  I love the fact that these cards don't follow the "traditional" Christmas colours!


I first blended some distress ink on my background.  Then I splattered some water, with a little perfect pearls mixed in, over the inked card.  One of the fun things about distress ink is how it reacts with water.  I die cut my elements out of black card and a light tan card, to mimic the colour challenge.  I glued the die cut images together, offset just a touch, to give a highlighted look.  I assembled all my pieces and layered my card with the same light coloured tan card , a black layer and then onto a cream coloured purchased card.

I used wilted violet, picked raspberry, squeezed lemonade and abandonded coral


I used a couple of Impression obsession dies and a Memory Box die for this card

I also used a sentiment from a Penny Black stamps set.

Thank you so much for stopping by. I hope you have enjoyed my latest Christmas card!  If you did, please check out  the other Christmas cards in this series created using the colour challenge from The One Little Tag Craft Challenge

Santa Christmas Card using #onelittletag colour challenge


Hello my friends!  As some of you may now from my recent posts, I am in the Christmas card mode!  Those of you that have been following along for a while, may also know that I have been participating in a FB group called The One Little Tag Craft Challenge  .  I started off the year very diligently, but as the year has progressed and life has gotten busy, I have not been posting as often, but I have not abandoned my very first challenge, and really my inspiration to even start my blog (along with wanting to share my art with my sister).  So, while these next few posts are not tags, they are still inspired by Jenny Barnett Rohs and her FB group.  Her most recent challenge was a colour challenge based on the photo below.  She used a colour mixer app to draw a colour scheme from the photo of the pot of fall mums.  I have based some Christmas cards on this colour scheme.  I love the fact that these cards don't follow the "traditional" Christmas colour s!


I first blended some distress ink on my background.  Then I splattered some water, with a little perfect pearls mixed in, over the inked card.  One of the fun things about distress ink is how it reacts with water.  I die cut my elements out of black card and a light tan card, to mimic the colour challenge.  I glued the die cut images together, offset just a touch, to give a highlighted look.  I assembled all my pieces and layered my card with the same light coloured tan card , a black layer and then onto a cream coloured purchased card.
 I used wilted violet, picked raspberry and abandonded coral

I used a Lawn Fawn and a Cherry Lynn Designs die for this card.

Thank you so much for stopping by. I hope you have enjoyed my latest Christmas card!  If you did, please check out my next few posts with the other Christmas cards in this set created using the colour challenge from The One Little Tag Craft Challenge

Saturday 8 October 2016

"Noel" Another Christmas Card


Hello my friends!  I thought I would make another card while I had all the supplies out and ready to use.  These cards are a bit of a challenge for me.  I struggled with how to assemble all the elements, but I am happy with how they turned out.  I love the look of these kinds of cards, but haven't made many of them.  So I am going to challenge myself to make more of them!


These flowers are from the $1.50 bins at Michaels.


Thanks so much for taking the time to join me and  have a look at my card.  I hope I am inspiring some of you to get started with your holiday card-making!  

Friday 7 October 2016

"Merry Christmas" Card


Hello my friends!  Today I am sharing a Christmas card that I have just finished.  As the season is approaching, I want to make sure I have my cards ready.  So if you enjoy holiday cards, you can look forward to seeing several, between now and Christmas.


This is an embossing folder that I received as a gift with a card-making magazine

 I will, of course, be sharing art, experiments and other tags and cards, as well.
Thank you so much for stopping by!  

Tuesday 4 October 2016

Tag# 9-26 "Rock your Sweater"


Hello my friends.  Just a very quick post today sharing my latest tag.   I am still participating in The One Little Tag FB Challenge .  I am not getting a tag done every day, but I am still inspired to make tags and be creative and I enjoy seeing other peoples creations..  This tag was made using my new Elizabeth Craft die that I got at Scrapfest.  So it may look familiar to those of you that had a look at my Scrapfest haul.  I have been wanting to use it, it looked so fun.  So now I actually have about half a dozen sweaters done up!


I used mostly off cuts from previous projects to die cut the sweater from and trim the tag from.  I used 2 different stamps.  The top stamp is a Kaisercraft stamp and I masked off "...be jolly"

I hope you enjoyed my tag for today.  
I am thinking of doing a "12 days of Christmas" tags or cards tutorial.  If you would be interested in seeing this, please let me know in the comments.  Also let me know if you would like tags, cards or a combination.
Thanks so much for joining me!

Monday 3 October 2016

Tag 9-25 "Merry Christmas" with foiled die cut elements


Hello my friends!  I am back to creating Christmas cards and tags,  This tag was created using some of the foiled and die cut elements that I showed in my previous post on foiling die cut images without toner paper .  This is similar to a tag I have done previously, but this time I foiled my die cut elemants instead of die cutting foil board,  so just another option.

I started off this tag with some distress inking using |Picked Raspberry" and "Broken China"  I used a torn sheet of paper to mask the snow hills.  I flicked the tag with some water because distress ink is so water reactive and I just love the look.  I also flicked on some Heidi Swapp sheer spray to give the look of some snowflakes.


Once I finished my background, I mounted it to some silver foilbaord and then to some Recollections Shimmer card, leaving a small border on each. 
I used a Tim Holtz die to die cut my trees from card that I had prepared for foiling, and an Yvonne Creations die for the sentiment.  

 Then I foiled the die cut pieces.  Once they were foiled,  I assembled my tag.  i used Artist-tac adhesive sheets.  These have small adhesive dots that adhere to any paper you want to stick when you place  your item between the adhesive sheet and the liner and burnish.  I find this awesome when I have an intricate and fine die cut shape that is difficult to glue.  I use these sheets all the time and they last for quite a while.  I get a lot of use out of one sheet.  They come in a package of 25 and I thik I paid about $25 for the package, so they are a little pricey when you have to buy a whole package, but I have found them well worth the money.  When I run out (which won't be for a long time!)  I will purchase another package.  I think I got this package at the beginning of the year, I use them for almost every tag I make, and I'm on the fourth sheet. (just to give you an idea).


Well, I hope you enjoyed today's tag.  Thank you so much for stopping by to have a look!